In this article
Your voice can carry a TikTok. Your face never has to.
Here is how to do a voiceover on TikTok: open the editor, tap Voice on the side panel, tap Record, then tap Done and Save. That is the in-app route. You can also record in another app and sync it, or let text-to-speech or an AI voice read your script. This guide covers all three, plus a setup that needs no microphone.
What You’ll Need
- The TikTok app on your phone. The Voice tool lives in the mobile editor.
- A short written script. Four to eight lines is plenty for a first video.
- Your phone’s built-in mic. Every method here works without an external microphone.
- A quiet spot with soft surfaces. A closet full of clothes is ideal.
- B-roll: stock clips, screen recordings, or hands-only footage.
- Headphones to check each take.
- Optional: a phone editor such as CapCut, or an AI voice tool such as ElevenLabs.
Step 1: Pick One of the Three Voiceover Methods
Each method trades control for speed. Pick one for your first video and stick with it until the video is posted.
| Method | Your voice? | Where you edit | Best for | Watch out for |
|---|---|---|---|---|
| TikTok’s Voice tool | Yes | Inside the TikTok editor | Short videos, one clean take | Changing the music later can replace your voice |
| Record separately, then sync | Yes | Voice Memos, Recorder, or an editor like CapCut | Retakes, line-by-line control | One extra export and upload |
| Text-to-speech or AI voice | No | TikTok’s Text tool, or an AI voice app | Creators who will not record at all | AI labels, commercial rights on free plans |
TikTok’s own tool is the fastest. Recording separately gives you the cleanest audio, because you can redo one line without redoing the whole video. AI voice removes the recording step entirely.
Not sure your channel even needs narration? The guide to faceless TikTok video formats shows which formats run on voice and which run on text alone.
Step 2: Write the Script Before You Touch Record
Most bad voiceovers are script problems. The creator hits record, improvises, and ends up with filler, restarts, and dead air.
Write first. Then record. Keep the rules simple:
- One idea per line. Each line becomes one shot on screen later.
- Lead with the payoff. Line one states what the viewer gets. No greeting, no channel name.
- Write for the ear. Short words. Short sentences. Read every line out loud and rewrite anything you stumble on.
- Mark your visuals. Next to each line, note the clip that will play under it.

A four-line script for a finance explainer might read:
- “Your savings account is losing money every year.”
- “Inflation rises faster than most bank interest.”
- “So the same dollars buy less each year.”
- “Here’s where people park cash instead.”
That script maps to four clips and four captions. You will use that structure again in Step 7. For a fuller structure, borrow the beat sheet from the faceless script template. It is built for YouTube, but the hook-and-payoff logic transfers to short vertical video.
Step 3: Set Up a Mic-Free Recording Spot
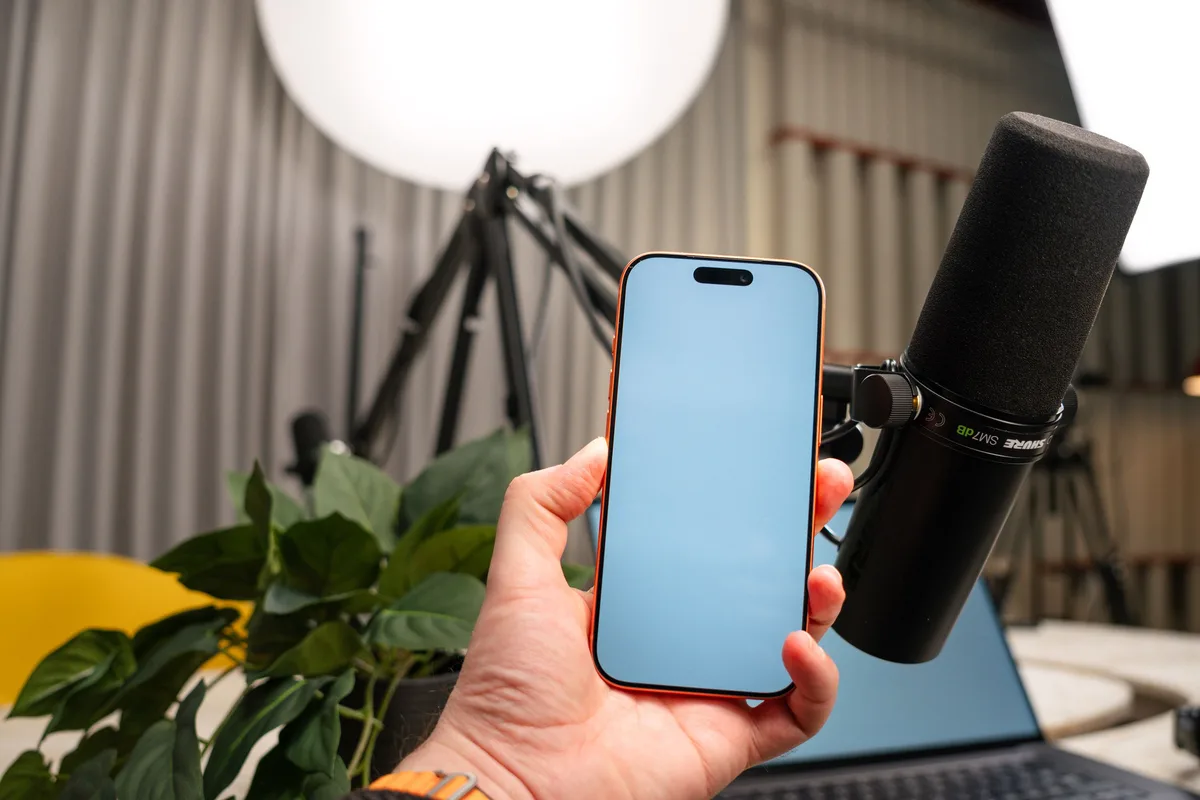
You do not need a microphone. Your phone has one. What you need is a room that does not echo.
Hard walls bounce sound back into the mic. Soft surfaces soak it up. That is why a closet works so well: the clothes act like free acoustic panels.

Set it up like this:
- Face the clothes. Sound travels out from your mouth and hits whatever is in front of you first.
- Hold the phone steady and slightly to the side of your mouth. Speaking straight into the mic causes popping on words that start with “p” and “b.”
- Kill background noise. Turn off fans, close the window, and put the phone on Do Not Disturb so notifications do not interrupt the take.
- Use your phone’s noise filter if it has one. On iPhone, Voice Memos offers a Voice Isolation mode in Control Center that filters out background sounds, per Apple’s iPhone User Guide page “Make a recording in Voice Memos on iPhone.”
Then record a test line and play it back on headphones. If you hear the room, add more soft material or move closer to the clothes.
Step 4: Record the Voiceover Inside TikTok
This is the in-app method. The steps below come from TikTok’s Editing TikTok videos and photos help page. TikTok updates its app often, so if a button has moved, check that page for the current wording.
Open the editor first:
- In the TikTok app, tap the Add post + button at the bottom.
- Record a video, or tap Upload to use your b-roll from your camera roll.
- Open the editing tools. If you recorded, tap the Edit button on the side panel (you may need to tap Continue first). If you uploaded, tap Next, then tap Edit.
Then add the voiceover:
- From the editing screen, tap Voice on the side panel.
- Tap Record at the bottom.
- Tap the Record button to record your voiceover.
- Tap Done to save your voiceover audio.
- If you want a voice effect, select one now.
- Tap Save at the top.
Voice effects are optional. TikTok lets you preview each effect before you apply it. For a faceless channel, an effect can make your narration sound distinct, but a heavy effect can also make it harder to follow. Test it on headphones before you commit.
One warning on order. TikTok’s Sounds help page says that once you change the music, all previous background music and voices are replaced. So add your music first, record the voiceover last, and play the video back after any sound change.
Step 5: Or Record Separately and Sync It in an Editor
The in-app tool records in one pass. If you want retakes line by line, record outside TikTok.
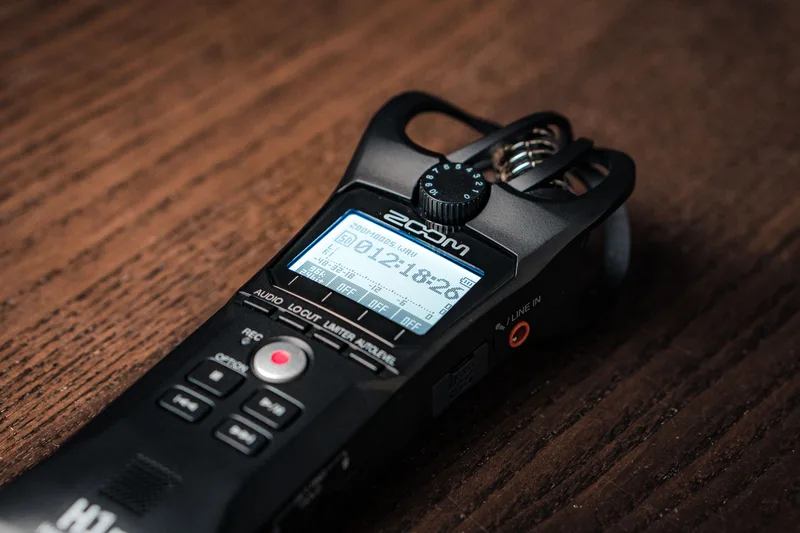
A dedicated recorder like the one above is optional. Your phone’s free voice app does the same job:
- Record in your phone’s voice app. That is Voice Memos on iPhone, or the recorder app that came with your Android phone.
- Read each script line, then pause. If you fumble, pause and read the line again. Keep the best take, cut the rest later.
- Move the file into an editor. CapCut, Descript, or any editor that accepts audio. The CapCut review and Descript review cover what each one costs and where the watermarks hide.
- Lay the voice track down first. Then trim the fumbles and the long gaps.
- Add b-roll on top, following Step 7 below.
- Export the finished video and upload it to TikTok as a normal post.
This route adds one export and one upload. In return, you get a clean take, and you can fix one line without redoing the whole video.
Turn this decision into a finished first upload. The free Video 1 Plan Worksheet maps your idea into a script, scene plan, thumbnail, and upload checklist. Free worksheet. No checkout.
Step 6: Use Text-to-Speech or an AI Voice Instead
Not ready to use your own voice? You have two options that need no recording at all.
Option A: TikTok’s built-in text-to-speech. TikTok’s Accessibility help page lists these steps:
- In the TikTok app, tap the Add post + button at the bottom.
- Record or upload a video.
- Tap Text on the side panel, then type the text you want to add.
- Tap the text you want read out loud, then select Text-to-speech.
Each text box becomes a spoken line. To pace it, set when each text box appears. TikTok’s editing page explains that you can hold and drag the arrows on either side of a text layer to make it shorter or longer.
Text-to-speech is free and fast. It also sounds like text-to-speech, which suits list and fact formats better than storytelling.
Option B: An AI voice generator. Tools like ElevenLabs and Murf turn your script into a natural-sounding narration file. You then sync that file like any separate recording (Step 5).
Check the license before you post on a channel you plan to monetize. ElevenLabs’ free plan includes 10,000 credits a month, about 10 minutes of text-to-speech, and its pricing page lists a commercial license only from the $6 Starter plan up. The ElevenLabs review breaks down the credit math. The best AI voice generator guide compares the free tiers side by side, and the Murf AI review covers the main alternative.
Label realistic AI voices. TikTok’s AI-generated content page says creators must label AI-generated content that contains realistic images, audio, or video. You will turn that label on in Step 9.
Step 7: Sync the Narration to Your B-Roll
Sync is where faceless videos look intentional or cheap. The rule is simple: the voice sets the timing, and everything else follows it.
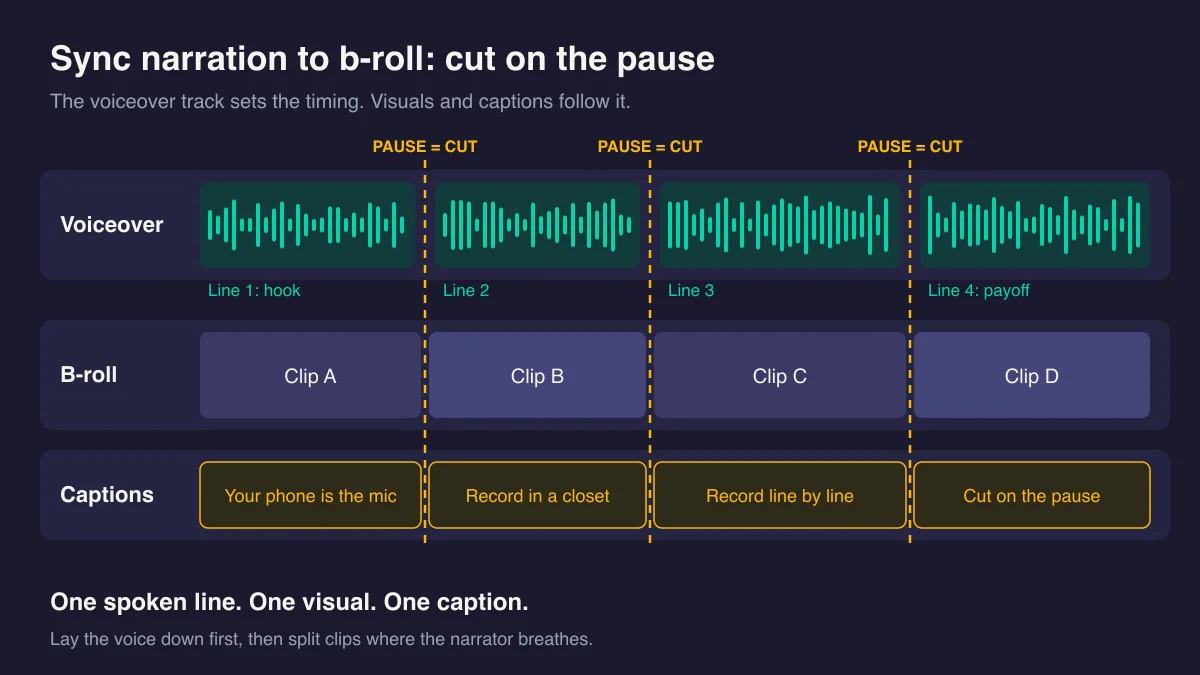
Work in this order:
- Voice track first. Lay the full narration down before you place a single clip.
- Find the pauses. Each pause between lines is a cut point.
- One clip per line. Place a clip under each spoken line and trim it to end at the next pause.
- Match the clip to the words. When the narration says “inflation,” show a price tag, not a random skyline.
- Cut on the pause, not mid-word. A cut in the middle of a word feels like a glitch.
You can do this inside TikTok too. TikTok’s editing tools let you split a clip, drag its ends to change its length, and rearrange clips by holding and dragging them. You can add up to 35 photos and videos in one editing session, plus up to 8 overlays, per TikTok’s editing help page. For anything longer or more layered, a desktop or phone editor is easier.
For more on sourcing b-roll that does not look generic, read the faceless short-form production system.
Step 8: Add Captions That Match the Voiceover
Captions make a voiceover video work with the sound off, and they help viewers who are deaf or hard of hearing.
TikTok gives you two caption tools, per its Accessibility help page:
Creator captions (set while editing):
- Tap the Add post + button, then record or upload your video.
- Continue to the preview screen.
- Tap Captions on the side panel. TikTok transcribes the speech into text.
- Preview and edit each line, then tap Save.
The first time you use creator captions, TikTok asks you to opt in to the feature. Creator captions also let you change the font style and color.
Auto-generated captions (set at posting):
- On the post screen, tap More options.
- Tap Select video language and choose the language of your narration.
- Tap Post. Eligible videos show captions in that language.
Speech recognition mishears names, numbers, and niche terms. Read every caption line against your script. To fix one after posting, tap the caption on your video, tap Edit captions, make the change, and tap Save.
If you used TikTok’s text-to-speech in Step 6, your text boxes already work as on-screen captions.
Step 9: Check the Audio, Label AI, and Post
One last pass before you publish.
Listen on headphones. Phone speakers hide hiss, echo, and clipped words. Headphones expose them. Check that the voice is louder than the music the whole way through.
Turn on the AI label if you used an AI voice. TikTok’s AI-generated content page gives these steps for video:
- Tap the Add post + button at the bottom.
- Record, then tap Continue. You can also upload a video from your device.
- Tap Next.
- Tap More options, then turn on the AI-generated content setting.
TikTok states that turning this setting on won’t affect your video’s distribution, as long as the video follows its Community Guidelines. Leaving a realistic AI voice unlabeled is the bigger risk.
Then post. The second voiceover goes faster, because your method, your room, and your caption routine are already decided.
Common Mistakes With TikTok Voiceovers
These cost first-time faceless creators the most rework.
1. Recording before writing
Improvised narration is full of “so, um, basically.” Write four to eight lines first. Every line you cut before recording is a line you do not have to edit out later.
2. Swapping the music after you record
TikTok’s Sounds help page says changing the music replaces previous background music and voices. Pick your sound first. Record the voiceover last. Replay the video after every sound change.
3. Using a free AI voice on a channel you plan to monetize
Free plans often leave out commercial rights. ElevenLabs lists its commercial license from the paid Starter plan up. Check the license before your account starts earning, not after.
4. Trusting auto-captions without reading them
Speech recognition gets niche words wrong. A misspelled brand or a wrong number in the captions undercuts your credibility. Edit every line against your script.
5. Cutting b-roll on the beat instead of the voice
Music-driven cuts fight the narration. In a voiceover video, cut where the narrator pauses so each visual lands with its line.
Frequently Asked Questions
Why can’t I find the voiceover option on TikTok?
Look for Voice on the side panel of the editing screen, then tap Record. TikTok’s help page notes that the editing tools open after you tap Edit on the side panel. If your app still looks different, update TikTok and check its editing help page for the current button names.
Can I do a voiceover on TikTok without recording my voice?
Yes. Type your lines with the Text tool, tap a line, and select Text-to-speech, per TikTok’s Accessibility help page. For a more natural sound, generate narration with an AI voice tool, sync it in an editor, and turn on TikTok’s AI-generated content label.
Should I record my voiceover in TikTok or in a separate app?
Use TikTok’s Voice tool when the video is short and you can read it cleanly in one take. Record in a separate app when you want retakes line by line or plan to post the same video elsewhere. The separate route adds one export, but gives you cleaner audio control.
Keep Reading
What to Do Next
You picked a model. Now ship video 1. Concrete sequence beats more research.
Get the Video 1 Plan Worksheet
6-section worksheet: idea, script outline, scenes, voice, thumbnail, upload day. 40 minutes of focused work and video one is recorded. Free PDF.
Free. No spam. Unsubscribe anytime.
Take the 2-min Quiz
Get matched to a model that fits your time, voice tone, and topic. Then use the bridge into a production kit.
Start the QuizComplete Channel Launch Pack
10 channel blueprints, setup assets, thumbnail prompts, and the starter plan in one bundle.
$9 $19 53% off Lowered for first-time creators.